
Fold your squares in half like you would to create a regular petal.
Layer your two folded pieces together. You'll now be working with them as though they are one piece.

Fold your piece in half down the centre. Keep in mind that whatever colour you want on the outside of the petal should be folded into the middle right now. I wanted my green on the outside, so I folded the fabric toward the green.

Fold your petal like normal now, treating the two layers as one.

Secure the end with hot glue and trim like usual. I used my double petals to create a little butterfly.

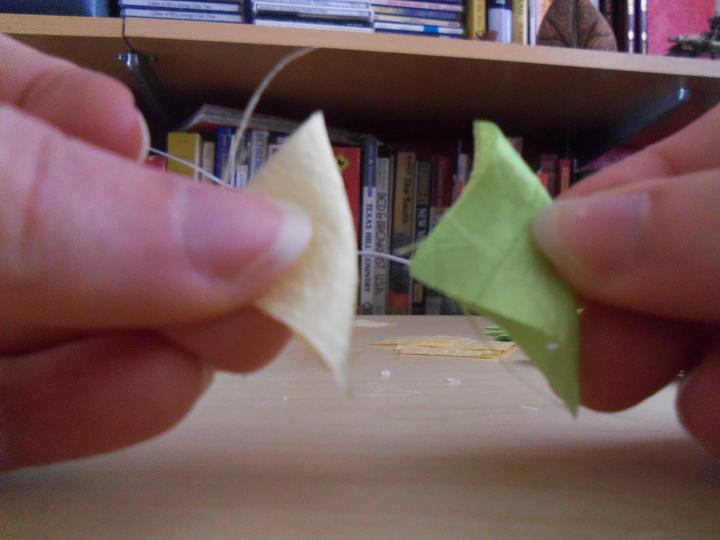
Now let's look at how to make the layered pointed petal. This is going to be a bit different from the rounded petal, but a little simpler.
First, make a regular petal in the colour you want to be the inner colour of your layers.

Next, take a square of your outer colour and fold it in half diagonally, then in half again down the centre. Basically, you're making another petal, minus the final step in folding.

Now take your outer colour and wrap it around your inner colour. The sides with the double folded edge should be together. Be sure that the outer colour comes up slightly higher than the inner colour so it has room to wrap around.

Secure the ends with a bit of glue, and you have your layered petal!


No comments:
Post a Comment