Since I can't afford to buy a real darari obi, or, for that matter, make one, I started toying with the idea of making one that ties on.
Also, I'm impatient, and I'm usually dressing for a photoshoot, so time is a factor when getting into my ensemble. Something quick like a tie-on obi would cut down on time and still give me the look I wanted.
Granted, this is in no way accurate. It's something good for cosplay or photoshoots, but if you're going for a serious recreation, this probably isn't for you.
Okay, let's get started! First, you'll need two different sorts of fabric - your decorative outer fabric, and some duck canvas as your interlining. You'll need about 2 yards of the canvas, and about 3 of your decorative fabric.
Let's start with the canvas interlining. Measure out a rectangle on your doubled fabric, 14 inches wide and 50 inches long. These will be the tails of your obi.

Open up your canvas so it's a single width, and cut out a rectangle that is 14 inches wide, and as long as 2x your waist measurement. This will be the main body of the obi, the part that wraps around your waist.

Now your decorative fabric. For your tails, on double width, cut out two sections of 14" x 50", giving you four final panels.

Using your canvas as an interlining, sew the panels together along the long sides, and close one end of the panel. Trim your edges and turn the panel right side out. Press into place.
I don't have a picture of it, but you'll do basically the same thing for your main section, meaning the section that will wrap around your waist. On your doubled width of fabric, cut out a section of fabric 14" x 2x waist measurement, giving you two panels. With your canvas as interlining, sew them together and then turn them right side out. Press.
(If you're unsure of what I mean by using your canvas as interlining, you basically just take your decorative fabric and place it right sides together, and then place your canvas on one of those sides of the fabric. Do not sandwich your canvas between your decorative fabric panels, you'll end up with the canvas on the outside after you turn your panel right side out. You basically treat one piece of decorative fabric + the canvas as a single piece of fabric, with the canvas acting as the wrong side of the fabric.)
Once everything is turned right side out and pressed, you can go ahead and decorate your outer fabric. I hand painted on a design that I liked from an obi I found online. If you have a patterned brocade or something that you're using, you can just ignore this step.


On one end of the obi, there's the house crest of the okiya the maiko belongs to. I couldn't help myself....

Soooo, anyway...once your obi is decorated as you want it, sew your two tail panels together at the open edge.

At the seam, fold the panels in half width-wise, and then fold the edges down again. You're basically accordion-ing the fabric.
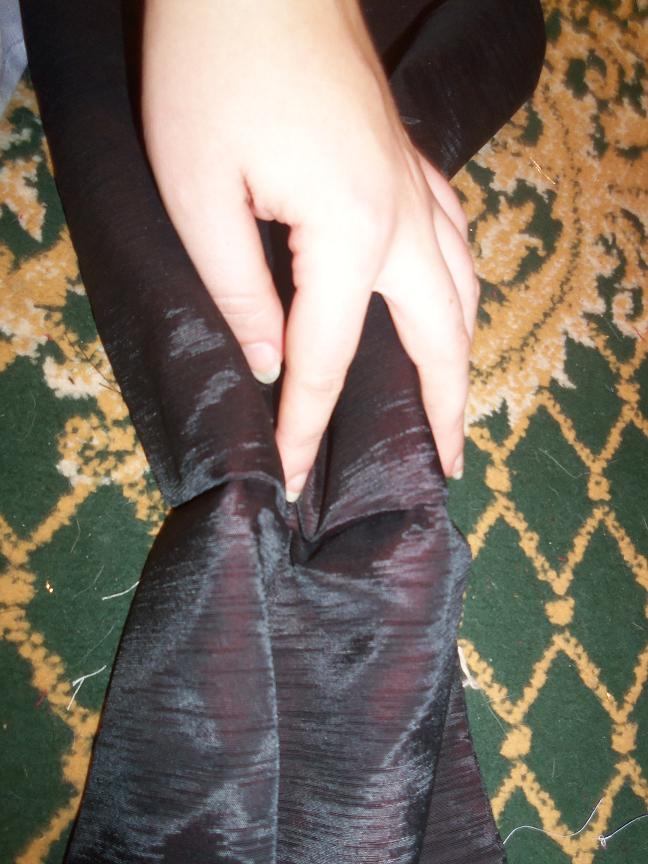
I wouldn't recommend trying to stitch the folds together because the fabric is super thick and will completely obliterate your machine's needle. To secure the folds in place, make an interlined panel of your decorative fabric about 3-4" wide by 7-8" long. Wrap this tightly around the folds and sew it into place by hand.
*
All the tie-on obis I have seen have either a wire or plastic loop on
the bow section. The way that this one is worn, it's not really necessary. I included it on mine when I made it, but since you tuck the knot behind your makura, it stays secure without needing the extra reinforcement.
To finish the main body of your obi, all you'll need to do is hem the open ends of your main body panel and add some ribbons to the edges so you can wear it. Most tie-on obi only have ties on the top edge, but I wanted to make sure everything was secure, so I put ribbons on both the top and bottom edges. I sewed the ribbon down with what I call a "parachute stitch" since the pattern is usually used for straps on backpacks and things like that. I knew I'd probably be rather unforgiving to the ties, so I didn't want them coming off!

And you're finished! Here is how it looks when it's all put together!


No comments:
Post a Comment